
Tissue culture aquarium plants have become extremely popular among aquascapers and nano tank hobbyists in the USA. They are pest-free, algae-free, disease-free, and often arrive in perfect visual condition. However, many beginners (and even experienced aquarists) face a frustrating problem shortly after planting them: plant melting.
Melting refers to the sudden deterioration of leaves — turning transparent, yellow, or mushy — soon after planting. In nano tanks (3–10 gallons), this issue is even more common due to limited water volume and rapid parameter swings.
The good news is that melting is preventable. In this guide, you’ll learn why imported tissue culture plants melt, how nano tanks make the problem worse, and step-by-step strategies to ensure successful adaptation and long-term growth.
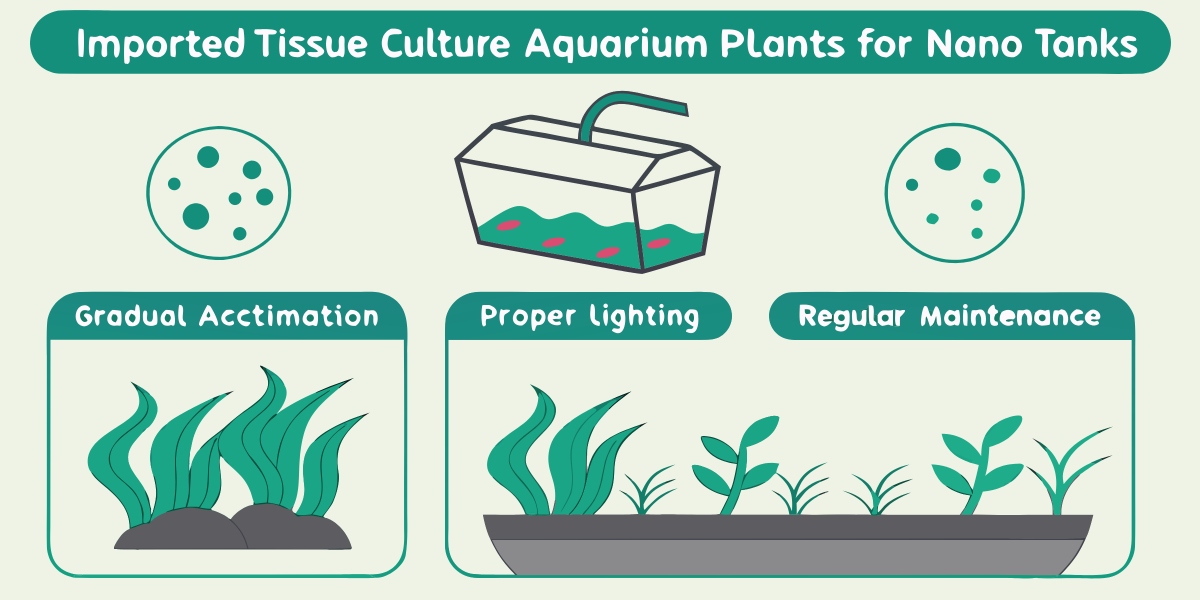
What Are Tissue Culture Aquarium Plants?
Tissue culture plants are grown in sterile laboratory conditions, using nutrient-rich gel instead of soil or submerged aquarium water. They are cultivated emersed (above water) and receive:
- High humidity
- Intense lighting
- Abundant nutrients
- Stable temperature
This controlled environment creates flawless plants — but also makes them sensitive when transferred to submerged aquarium conditions.
What Is Plant Melting?
Plant melting is not a disease. It is a physiological response caused by environmental shock.
Common symptoms:
- Leaves become transparent or gelatinous
- Sudden leaf drop within days
- Yellowing or browning from the base
- Healthy roots but dying foliage
Melting typically affects emersed-grown leaves, while submerged growth later emerges healthy if conditions are correct.
Why Imported Tissue Culture Plants Melt (Especially in Nano Tanks)
1. Emersed-to-Submerged Transition Shock
Most tissue culture plants are grown emersed, meaning their leaves are adapted to air, not water. Once submerged:
- Leaf structure can’t process dissolved CO₂ efficiently
- Gas exchange becomes inefficient
- Old leaves die to allow new submerged leaves to form
This process is natural — but can be minimized.
2. Shipping & Import Stress
Imported tissue culture plants often experience:
- Temperature fluctuations
- Prolonged darkness
- Oxygen deprivation
- Dehydration stress
By the time they reach hobbyists, their energy reserves are already reduced.
3. Nano Tank Instability
Nano tanks magnify problems due to:
- Rapid temperature swings
- Fast nutrient depletion
- Quick ammonia spikes
- Limited biological buffering
What might be tolerable in a 40-gallon tank can cause melting in a 5-gallon setup.
4. Insufficient Root Nutrition
Tissue culture plants arrive with undeveloped root systems. In inert substrates (sand, gravel):
- Roots lack access to macronutrients
- Plants rely solely on water-column nutrition
- Starvation accelerates melting
5. Excessive Light Without CO₂
Many nano tanks use bright LEDs. Without CO₂ injection:
- Photosynthesis outpaces carbon availability
- Plants experience oxidative stress
- Melting accelerates
This is one of the most common hidden causes.
Step-by-Step: How to Prevent Melting in Nano Tanks
Step 1: Prepare the Tank Before Planting
Never plant tissue culture plants into an unprepared nano tank.
Ideal conditions:
- Fully cycled tank (ammonia/nitrite = 0)
- Stable temperature (72–78°F / 22–26°C)
- Gentle filtration (nano sponge filter preferred)
- Soft to moderately hard water
Avoid planting during the first week of tank cycling.
Step 2: Properly Clean Tissue Culture Plants
Although pest-free, tissue culture plants must be cleaned correctly.
Correct method:
- Remove plant from cup
- Rinse thoroughly under lukewarm water
- Gently remove all gel residue from roots
- Separate into small plantlets
Residual gel can foul water and trigger ammonia spikes in nano tanks.
Step 3: Trim Emersed Leaves (Highly Recommended)
This is a critical but often skipped step.
- Trim 30–50% of large emersed leaves
- Focus on damaged or overly thick foliage
- Leave roots intact
This reduces energy demand and encourages submerged leaf formation.
Step 4: Plant Shallow and Securely
Do not bury tissue culture plants deeply.
- Roots lightly covered
- Crown exposed
- Use planting tweezers for precision
Deep planting suffocates roots and causes rot.
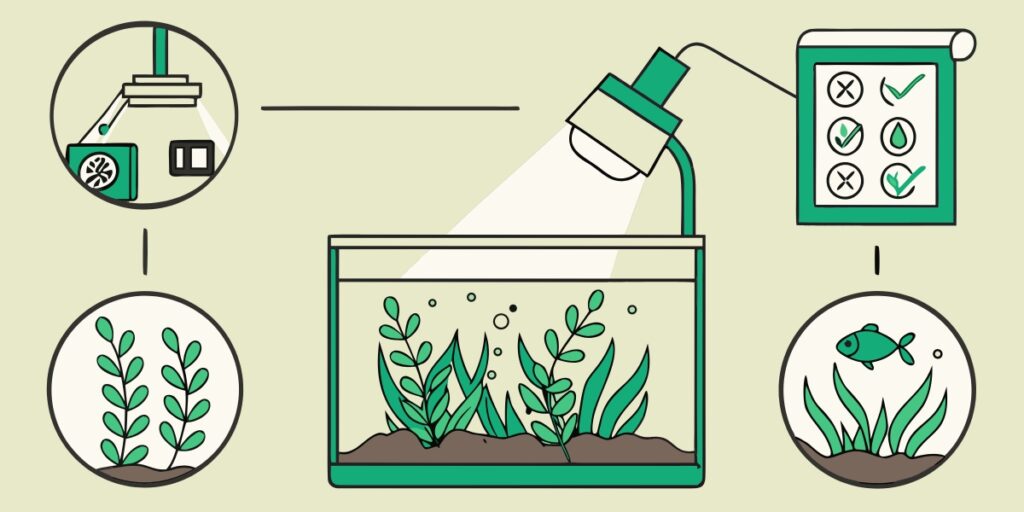
Step 5: Reduce Light Intensity for the First 2–3 Weeks
High light is one of the biggest causes of melting.
Recommended nano tank lighting during acclimation:
- 5–7 hours per day
- Low to medium intensity
- Avoid “full power” modes
Gradually increase photoperiod after new submerged growth appears.
Step 6: Provide Gentle Carbon Support
Even without CO₂ injection, plants need carbon.
Options:
- Liquid carbon (low dose, 2–3x per week)
- Natural CO₂ from fish respiration
- Organic substrate respiration
Avoid overdosing liquid carbon — nano tanks are sensitive.
Step 7: Root Nutrition Is Non-Negotiable
For root-feeding tissue culture plants:
- Insert root tabs immediately after planting
- Place tabs 1–2 inches from roots
- Replace every 6–8 weeks
This single step dramatically reduces melting.
Step 8: Minimal Liquid Fertilization (Not Zero)
Contrary to myth, tissue culture plants need nutrients.
Use:
- Low-dose all-in-one fertilizer
- Once per week during acclimation
Avoid daily dosing in nano tanks.
Best Tissue Culture Plants for Nano Tanks (Low Melt Risk)
Low-Risk (Beginner Friendly)
- Anubias nana ‘Petite’
- Bucephalandra species
- Java moss (tissue culture)
- Cryptocoryne parva
Moderate Risk (Needs Care)
- Monte Carlo
- Staurogyne repens
- Dwarf hairgrass
High Melt Risk (Advanced)
- Glossostigma
- Rotala species
- Pogostemon helferi
Common Mistakes That Cause Severe Melting
- Planting into uncycled tanks
- Excessive light without CO₂
- No root fertilization
- Daily liquid fertilizer dosing
- Large water changes immediately after planting
- Burying plant crowns
What to Do If Melting Starts Anyway
Melting does not mean failure.
Rescue plan:
- Remove melting leaves immediately
- Reduce light by 30–40%
- Check ammonia levels
- Add root tabs if missing
- Stop fertilizing for 7 days
New submerged growth usually appears within 2–4 weeks.
Timeline: What Healthy Adaptation Looks Like
| Week | What You Should See |
|---|---|
| Week 1 | Minor melting, stable roots |
| Week 2 | Melting slows |
| Week 3 | New submerged leaves |
| Week 4–6 | Full recovery, visible growth |
Conclusion
Melting in imported tissue culture aquarium plants is not a flaw — it is a transitional phase. In nano tanks, where environmental changes happen rapidly, preventing melting requires preparation, restraint, and consistency.
By stabilizing your tank before planting, reducing light intensity, supporting roots with proper nutrition, and avoiding over-fertilization, you can dramatically reduce or even eliminate melting altogether. Most importantly, patience is key. Tissue culture plants reward careful aquarists with cleaner tanks, healthier growth, and long-term aquascaping success.
Follow the steps in this guide, and your nano tank will transition from fragile to thriving — without the frustration of melted plants.
References
- Walstad, D. (2013). Ecology of the Planted Aquarium. Echinodorus Publishing.
- Tropica Aquarium Plants — Tissue Culture Care Guides.
- Aquatic Plant Central (APC) Forums — Tissue Culture Adaptation Studies.
- The Barr Report — Plant Physiology & Nutrient Uptake Articles.
- Seachem Laboratories — Aquarium Plant Nutrition & Carbon Use Documentation.
- ADA Nature Aquarium — Plant Transition & Emersed/Submerged Growth Research.